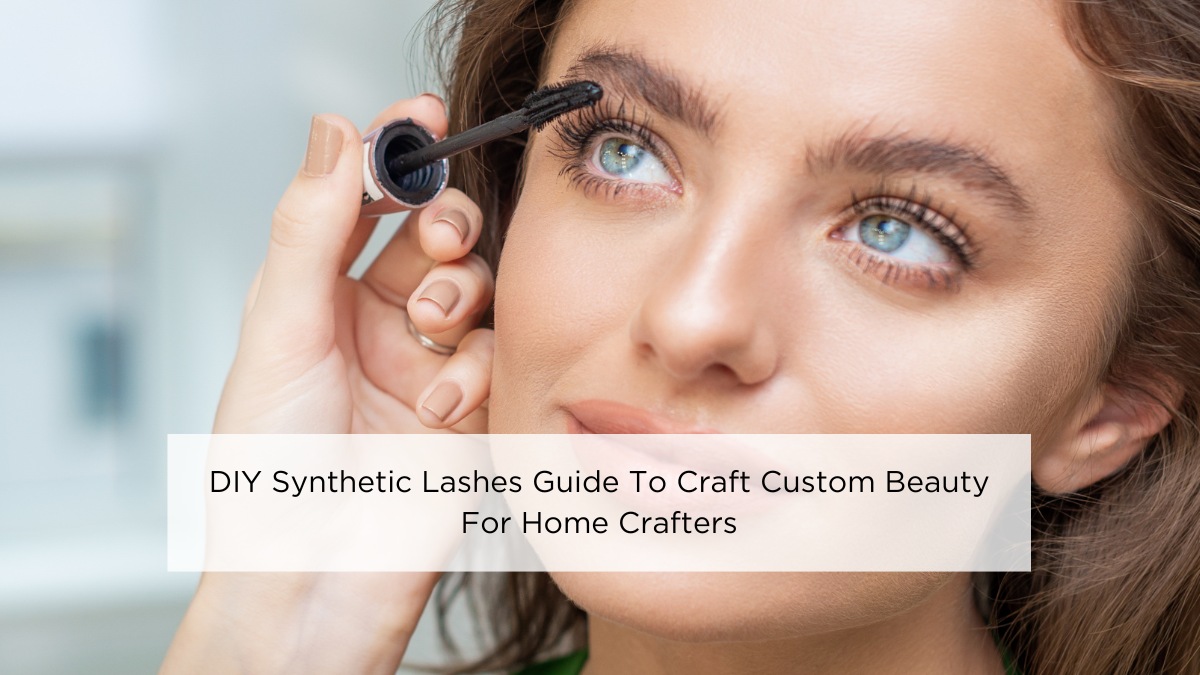
Discover the art of DIY synthetic lashes! Craft your custom beauty with our step-by-step guide. Get ready to dazzle with personalized eyelash extensions!
Discover the ultimate guide to creating personalized DIY synthetic lashes at home. Explore benefits, preparation tips, application techniques, and safety practices for crafting your own custom beauty. Dive into DIY beauty with this comprehensive resource for home crafters.
Benefits Of DIY Synthetic Lashes Over Premade Synthetic Lashes
Crafting your own synthetic lashes offers unparalleled customization. Tailor each lash to match your unique style and preferences, ensuring a perfect fit every time.
- Customization: DIY synthetic lashes allow you to create lashes tailored specifically to your eye shape, desired length, and preferred style. Unlike premade options, which offer limited choices, DIY lashes empower you to unleash your creativity and express your individuality.
- Personalization: With custom synthetic lashes, you have complete control over the design process. Whether you prefer natural-looking lashes for everyday wear or bold, dramatic styles for special occasions, you can craft lashes that reflect your personality and enhance your natural beauty.
- Flexibility: One of the biggest advantages of custom synthetic eyelashes is their flexibility. You can experiment with different materials, techniques, and styles to achieve the perfect look for any occasion. Whether you want subtle, fluttery lashes or full-on glamour, DIY lashes give you the freedom to customize your lash game.
- Affordability: Making your own synthetic eyelash extensions at home is a cost-effective alternative to purchasing premade options. With just a few basic tools and materials, you can create high-quality lashes that rival those sold in stores, saving you money in the long run.
Crafting your own synthetic lashes offers a world of possibilities, from personalized designs to cost-effective beauty solutions. With DIY lashes, you can unleash your creativity and achieve the perfect look every time.
Preparation To Craft Your Own DIY Synthetic Lashes
Prepare to create stunning DIY synthetic lashes! Learn about the essential materials and tools needed for crafting homemade custom lash styles.
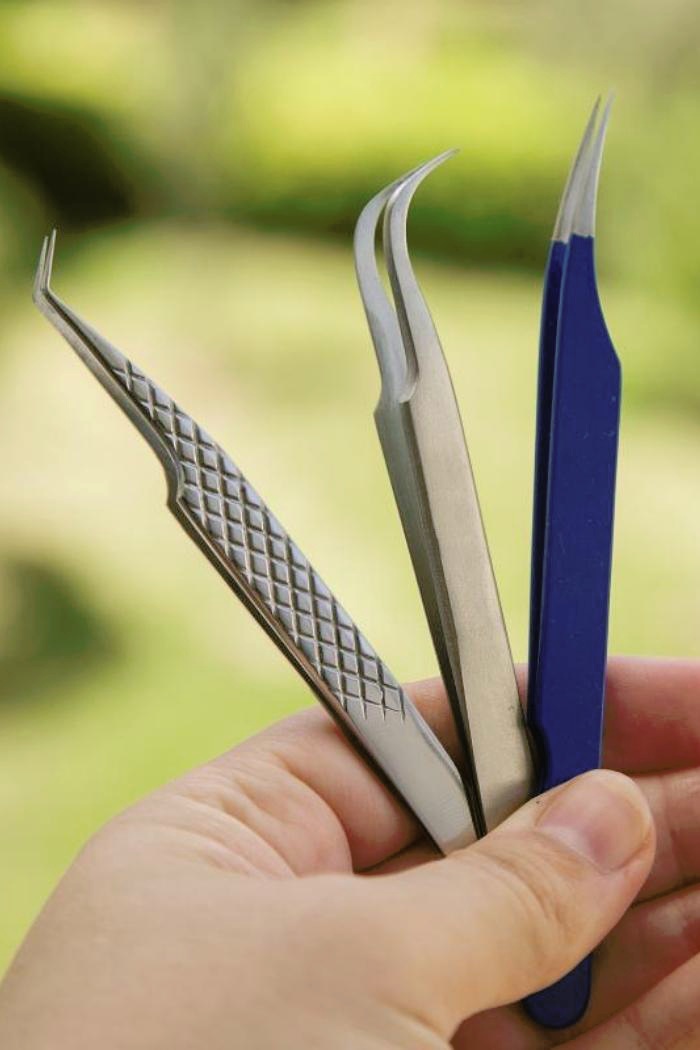
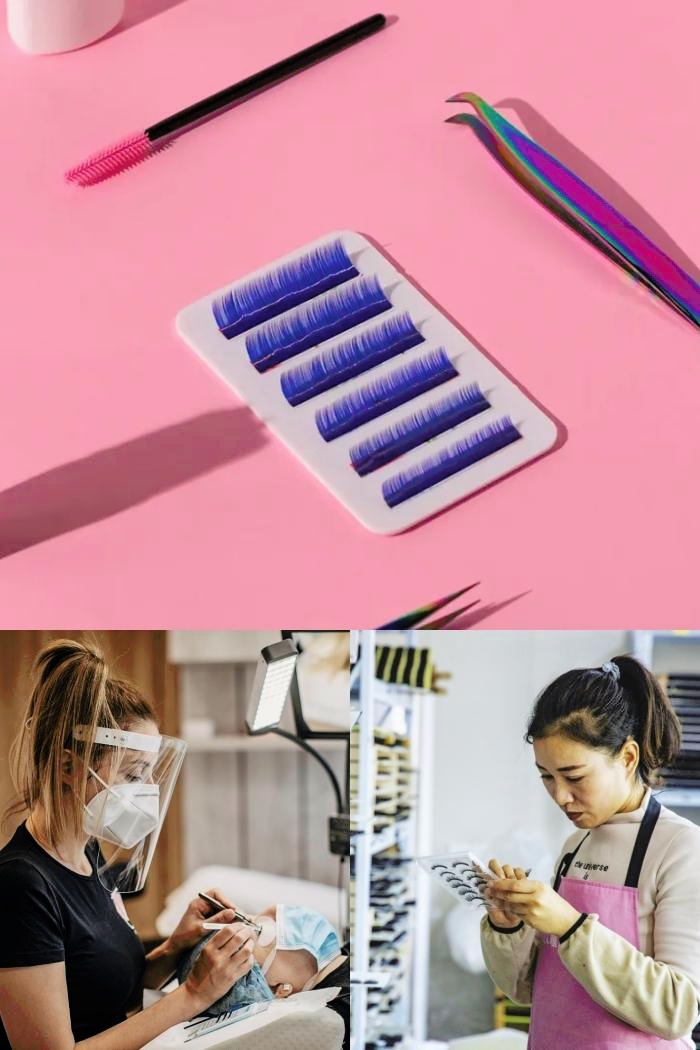
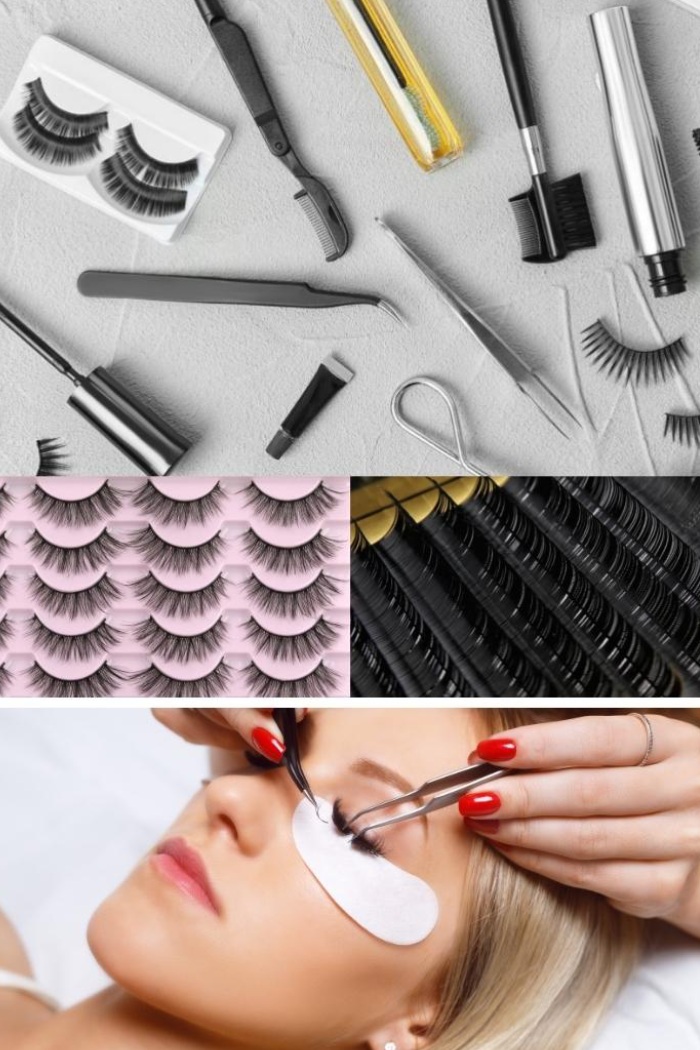
Materials and Tools for DIY Synthetic Lash Application
Discover the essential components needed to make homemade synthetic lashes. From selecting the right materials to choosing the perfect tools, let’s explore how to achieve professional-looking results with ease.
- Synthetic Fibers: When it comes to DIY synthetic lashes, understanding the types and qualities of synthetic fibers is crucial. Opt for high-quality materials that closely resemble natural lashes for seamless and realistic healthy hair.
- Eyelash Adhesives: Selecting the correct glue is essential for a successful DIY lash application. Choose an eyelash glue that provides a secure hold without causing irritation or damage to your natural lashes.
- Crafting Tools: Essential tools such as scissors, tweezers, and applicators are necessary for precise and efficient lash application. Ensure you have the right tools on hand to achieve your desired lash look.
- Optional Accessories: Explore additional accessories like lash forms and magnifying mirrors to enhance your DIY lash application process. These accessories can help you achieve professional-looking results with ease.
Creating your own synthetic lashes at home requires the right materials and tools. By understanding the qualities of synthetic fibers, selecting the correct glue, and utilizing essential tools and accessories, you can achieve beautiful, customized lashes that enhance your natural beauty.
Styles and Customization Options In DIY Synthetic Lash Application
Explore the endless possibilities for customizing your DIY synthetic lashes to achieve your desired look. From wispy to dramatic styles, let’s delve into the various options for personalizing your lash game.
- Wispy, Dramatic, or Natural: Whether you prefer a subtle, natural look or bold, dramatic lashes, DIY synthetic lashes offer versatility in style. Experiment with different lengths, densities, and curl patterns to create the perfect lash look for any occasion.
- Coloring And Embellishments: Elevate your DIY synthetic lashes with creative coloring and embellishments. Add a pop of color with colored mascara or glitter accents for a playful and eye-catching effect. Explore rhinestones, sequins, or pearls for added glamour and sophistication.
- Customizing Length & Volume: Tailor your synthetic lashes to your desired length and volume for a personalized look. Trim the lashes to your preferred length and layer multiple lashes for added volume and dimension. Experiment with different stacking techniques to achieve your desired lash style.
- Creative Options: Unleash your creativity with unique designs and textures for your synthetic lashes. Experiment with crisscross patterns, feathered tips, or ombre effects for a one-of-a-kind look. Incorporate unconventional materials like lace or fabric for a creative and avant-garde lash style.
Customizing your synthetic lashes allows you to express your individuality and creativity. Whether you prefer a natural, understated look or bold, statement-making lashes, the possibilities are endless with synthetic lashes.
Step-by-Step Guideline to Apply DIY Synthetic Lashes
Master the art of applying DIY synthetic lashes with our step-by-step guide. From preparing your natural lashes to applying lash glue and final touches, achieve flawless results at home.
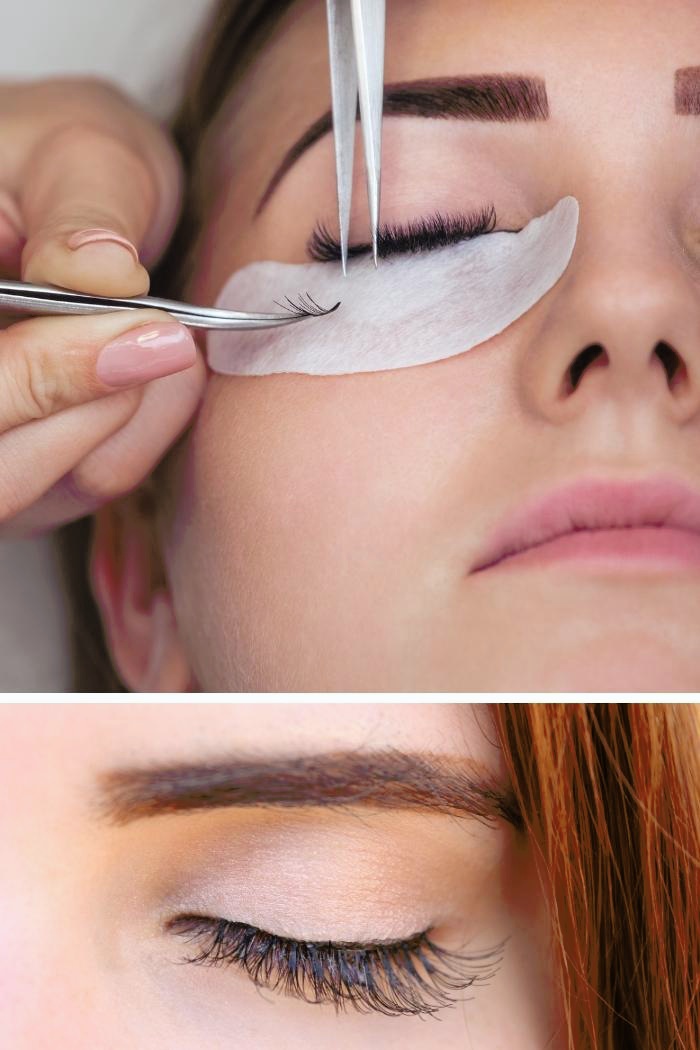
Preparing Your Natural Lashes For DIY Synthetic Eyelash Application
Before applying synthetic lashes, it’s essential to prepare your natural lashes to ensure optimal adhesion and longevity. Let’s walk through the steps to achieve the perfect canvas for your lash application.
- Cleanse: Start by thoroughly cleansing your natural lashes to remove any traces of makeup, oil, or debris. Use a gentle makeup cleanser or micellar water to ensure your lashes are clean and free from any residue that could interfere with the lash glue.
- Curl: For added lift and definition, use an eyelash curler to curl your natural lashes before applying your custom synthetic eyelashes. Gently clamp the curling iron at the base of your lashes and hold for a few seconds before releasing. This will help to create a voluminous lifting effect and open-eyed look that enhances the effect of your synthetic lashes.
- Mascara (optional): If desired, apply a coat of mascara to your natural lashes before applying your DIY synthetic lashes. This will add extra volume and thickness to your lashes, creating a seamless blend between your natural and synthetic lashes. Be sure to choose a mascara formula that is compatible with your synthetic eyelash extensions, and avoid waterproof formulas, as they can be difficult to remove.
Preparing your natural lashes is an essential step in achieving flawless results with synthetic lashes. You’ll create the perfect foundation for a seamless and long-lasting lash application by cleansing, curling, and optionally applying mascara.
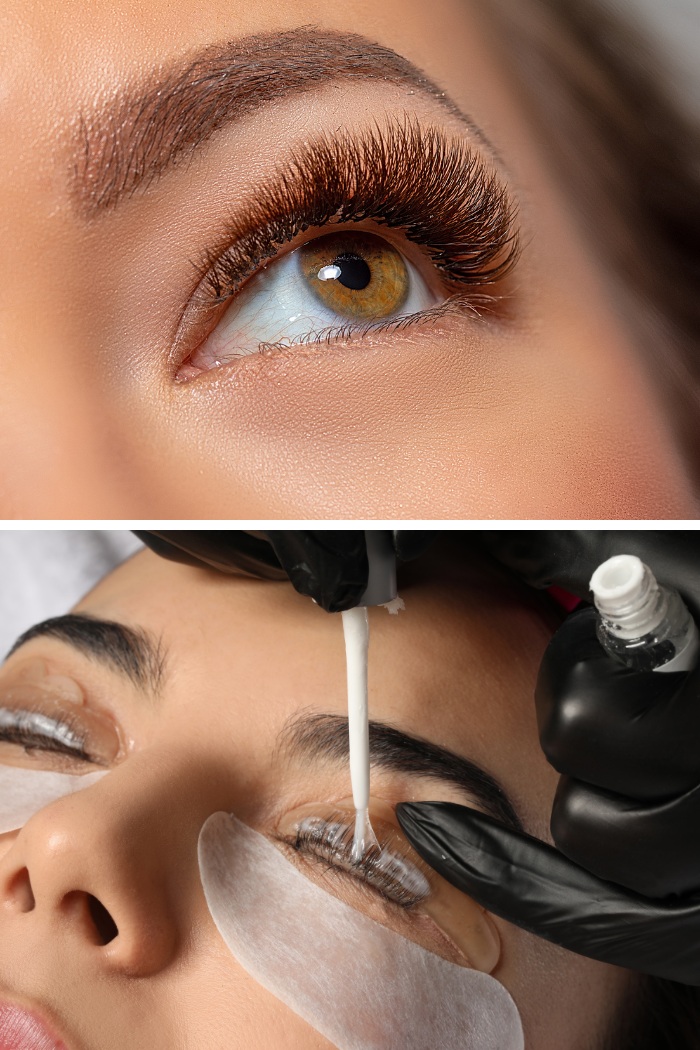
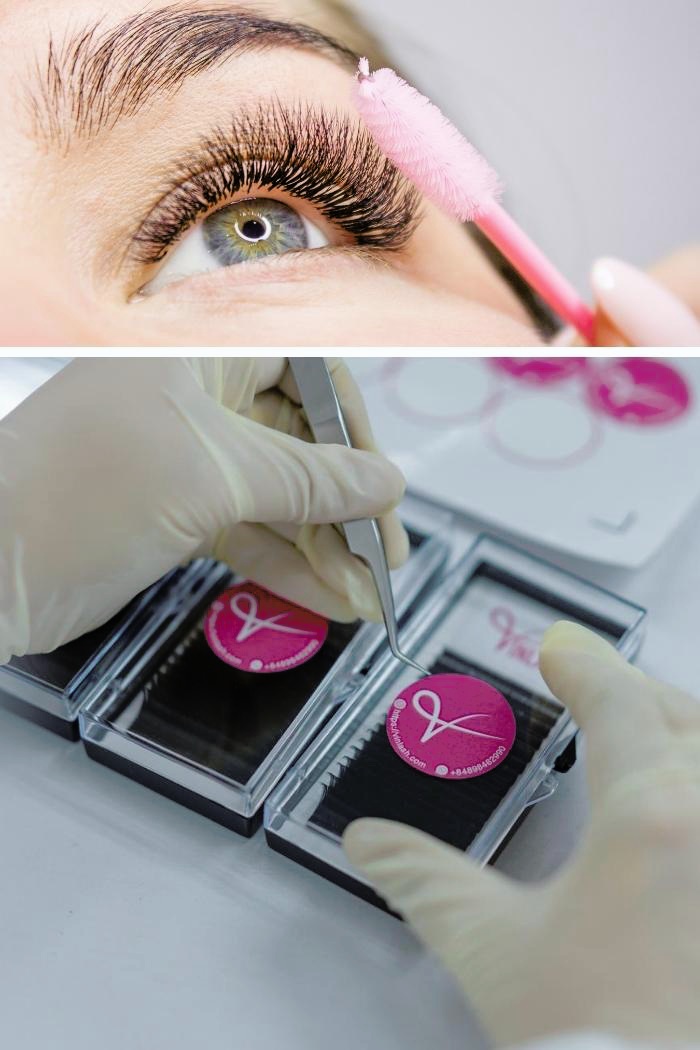
Applying Lash Adhesive and DIY Synthetic Lashes
When it comes to applying synthetic lashes, precise techniques ensure a seamless and secure fit. Follow these steps provided by REFINELASH supplier for optimal results:
- Apply Adhesive: Begin by applying a thin, even layer of adhesive to the lash band of your DIY synthetic lashes. Use a specialized eyelash adhesive designed for synthetic lashes to ensure a strong and long-lasting hold. Be careful not to apply too much adhesive, as this can cause clumping and difficulty in application.
- Wait: Allow the adhesive to become tacky before applying the lashes to your natural lash line. This typically takes about 30 seconds to a minute, depending on the formula of the adhesive. Waiting for the adhesive to become tacky ensures better adhesion and prevents the lashes from slipping or sliding during application.
- Placement: Using tweezers, carefully place the synthetic lashes along your natural lash line, starting from the inner corner of your eye and working outwards. Take your time to ensure the lashes are positioned correctly and securely adhered to your natural lashes. Gently press down on the lashes to ensure they are properly bonded to your natural lashes.
Applying adhesive and synthetic lashes requires precision and patience for a flawless finish. By following these steps, you can achieve beautiful, natural-looking lashes that enhance your overall look.
Final Touches To Your DIY Lash Extensions Synthetic
Enhance your lash application with these final steps for a seamless and polished look. Ensure your lashes stay secure and blend seamlessly with your natural ones.
- Press and Hold: After applying your DIY synthetic lashes, gently press them against your natural lash line using a clean finger or a lash applicator. This helps to ensure secure adhesion and prevents any lifting throughout the day.
- Blend: To seamlessly blend your lashes with your natural lashes, use an eyeliner in a shade that matches your lash line. Apply the eyeliner along the base of your lashes to conceal the lash band and create a cohesive look.
- Mascara (optional): For added volume and to set your lashes in place, consider applying a coat of mascara to your natural lashes. Use a mascara formula that complements the style of your lashes and gently coat your natural lashes from root to tip.
Completing these final touches will elevate your overall look and ensure your lashes last all day with a stunning, fluttery appearance.
Maintain Safety and Hygiene Practices in Custom Synthetic Lash Extensions
Ensuring safety and hygiene is crucial for a comfortable and risk-free experience with your custom synthetic eyelashes. Here’s how to minimize potential issues:
- Preventing Eye Irritation: Opt for hypoallergenic synthetic materials and adhesives to reduce the risk of irritation when using DIY synthetic lashes. Look for synthetic eyelashes and makeup products labeled as suitable for sensitive skin and perform patch tests before full application to ensure compatibility.
- Minimizing Allergic Reactions: Prioritize safety by testing all products, including adhesives and synthetic lashes, on a small area of skin before full application. This helps identify any potential allergic reactions and allows you to avoid adverse effects.
- Reducing Risk of Infections: Maintain proper hygiene practices during both the application and removal of synthetic lashes. Cleanse your eyelids and lashes thoroughly before application, and use gentle techniques to avoid irritation or damage to the delicate eye area. Additionally, ensure that all tools and products, including makeup brush, are sanitized, dry completely, and stored properly to prevent contamination and the spread of bacteria.
- Safe Storage: Preserve the quality and integrity of your synthetic lashes for future use by storing them in a clean, dry environment away from moisture and direct sunlight. Consider investing in a professional extensions case or container to keep them organized and protected from dust and debris.
By following these safety and hygiene practices, you can enjoy the beauty and convenience of custom synthetic eyelashes without compromising your eye health or comfort.
FAQs on DIY Synthetic Lashes
- Are DIY synthetic lashes safe for my eyes
Yes, DIY eyelash extensions can be safe for your eyes if used correctly. Opt for hypoallergenic materials and adhesives to minimize the risk of irritation. Perform patch tests before full application and ensure proper hygiene during application and removal.
- Can I customize the look of my synthetic lashes
Customizing the look of synthetic lashes is entirely possible. You have the freedom to adjust length, volume, and style to your liking, along with experimenting with various materials and colors for a unique touch.
- How should I store custom synthetic lashes between uses
To preserve your synthetic lashes, store them in a clean, dry place away from moisture and direct sunlight. Consider using a designated lash case or container to keep them organized and protected from dust and debris. Proper storage ensures they maintain their shape and quality for future use.
- Are there any specific tips for maintaining DIY synthetic lashes
To maintain your synthetic lashes, avoid pulling or rubbing them excessively. Clean them gently with a makeup remover after each use to remove adhesive residue. Store them properly in a designated case to prevent damage and maintain their shape. Maintaining synthetic lashes ensures they remain in good condition for multiple uses, prolonging their lifespan and preserving their appearance.
- What should I do if I experience irritation or allergic reactions while using DIY synthetic lashes
If you experience irritation or allergic reactions while using DIY synthetic lashes, remove them immediately. Cleanse the area with a gentle makeup remover and discontinue use. Consider switching to hypoallergenic materials and consult a dermatologist if symptoms persist.
Conclusion
In conclusion, crafting your own DIY synthetic lashes offers endless possibilities for customizing your beauty routine. With this comprehensive guide, home crafters can experiment with styles, techniques, and materials to achieve their desired look. Dive into the world of DIY beauty and unleash your creativity!